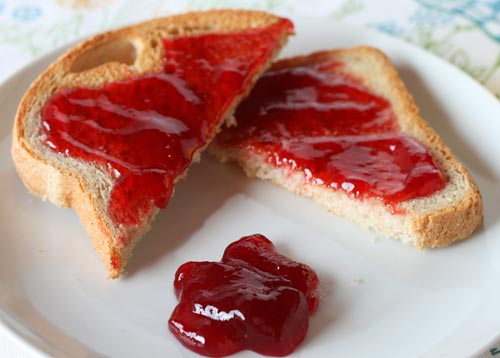
Plum Jam

This is one of my favorite jams to make as it isn’t too sweet and has a gorgeous jewel color. I love to use this jam as a filling for my crostatas, or for my Christmas cookies. I also love to stir a tablespoon of this jam into my unsweetened Greek yogurt every morning. I generally do not use pectin in my jams if I can get away with it but prefer to cook my fruit slowly with sugar and a little lemon until it naturally thickens on it’s own.
For this jam I use plums that are a little tart in flavor which I find really makes a delicious, not too sweet jam. I use an immersion hand blender to ensure my jam is very smooth as soon as the plums have softened as I like to use my jam to fill cookies but this step really isn’t necessary. You can also make a Spiced Plum Jam simply by adding some cinnamon, cloves, and nutmeg to the plums before cooking which is a delicious alternative.
To Test If A Jam Has Set: I find the easiest way to do this is to place a plate in the refrigerator before you begin your jam to cool them. To test for setting, drizzle some of the warm jam onto the plate. When you turn the plate the jam should barely move. If it runs off the plate, continue to cook until it has properly thickened.
Buon Appetito!
Deborah Mele

Plum Jam
This is one of my favorite jams to make as it isn't too sweet and has a gorgeous jewel color. I
Ingredients
- 2 Pounds Fresh Plums
- 2 Pounds Sugar
- 1/2 Cup Water
- Juice Of 1 Lemon
Instructions
- Wash the plums, cut in half and remove the pits, then coarsely chop.
- Put the plums, sugar, lemon juice, and water into a large heavy bottomed saucepan (or preserving pan) and simmer gently until the skins split and they are soft.
- Stir gently over a low heat until you are sure that all the sugar crystals have dissolved.
- Turn up the heat to its highest setting and, stirring constantly, let the fruit boil rapidly for 5 minutes.
- Reduce the heat to a slow boil and continue to stir frequently until the jam has set. (see notes above)
- If the jam has not set, continue at a slow boil, and test at five minute intervals.
- When the jam has set carefully pour into warm, sterilised jars, using a ladle.
- Cover the jars with tight fitting, sterilized lids.